
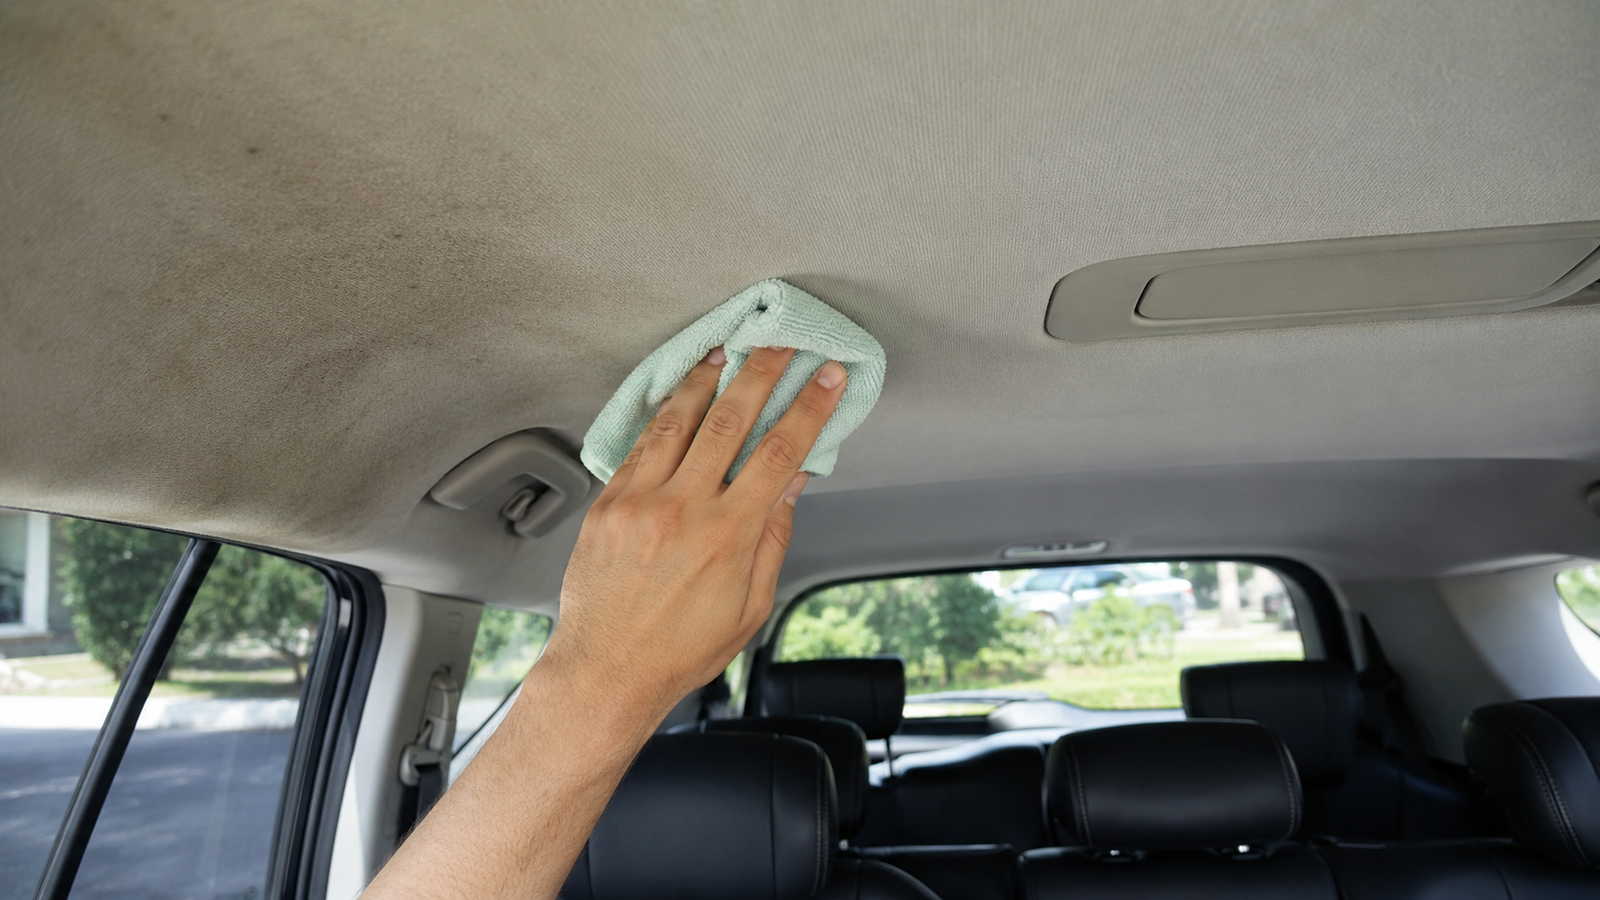
The car headliner is one of the most overlooked interior surfaces, yet it collects dust, odors, stains, and grime over time. The wrong cleaning approach can loosen the adhesive bond, cause permanent sagging, or damage the material beyond repair.
This complete guide walks you through the correct products, tools, techniques, and proven methods to restore your headliner without costly repairs or replacements.
What Is a Car Headliner and Why Does It Get Dirty?
The headliner is the interior ceiling panel of your vehicle. It typically consists of a foam backing bonded to a fabric covering usually polyester, suede-like material, or vinyl which is then adhered to a fibreboard substrate using heat-sensitive adhesive.
Because of this construction, the headliner is highly sensitive to moisture, heat, and harsh chemicals. It gets dirty from several sources:
- Cigarette smoke and nicotine residue
- Body oils and hair grease from passengers
- Food and beverage splatter
- Mold and mildew from humidity or water leaks
- Dust and airborne particles settling over time
Understanding the material composition helps you choose the right cleaning approach and avoid methods that break down the adhesive layer.
Tools and Supplies You Need Before You Start
Before touching the headliner, gathering the right materials is essential. Using incorrect products is the number one cause of preventable headliner damage and in many cases, the wrong cleaner causes more harm than the original stain. Professional auto detailers consistently emphasize that product selection accounts for nearly 70 percent of a successful headliner cleaning outcome.
Here is everything you need before you begin:
| Item | Purpose | Key Specification |
| pH-neutral upholstery cleaner | Lifts stains without fabric degradation | pH 6.5 – 7.5 range recommended |
| Microfiber cloths (min. 300 GSM) | Gentle, lint-free application and blotting | Use white cloths to avoid dye transfer |
| Soft-bristle detailing brush | Loosens embedded dirt without fraying fibers | Bristle stiffness – soft to medium only |
| Spray bottle (fine mist setting) | Controls product volume and distribution | Prevents over-saturation of fabric |
| White vinegar solution (1:1 ratio) | Natural deodorizer and mild acid cleaner | Dilute with distilled water, not tap water |
| Isopropyl alcohol 70% | Spot treatment for grease, ink, and adhesive marks | Higher concentrations risk fabric discoloration |
| Handheld vacuum with brush head | Pre-clean dust and debris removal | Low suction setting to protect fabric weave |
A few critical points worth noting, always use distilled water rather than tap water when diluting any cleaning solution. Tap water contains dissolved minerals that leave behind calcium and magnesium deposits, creating new water stains on the very surface you are trying to clean. Also, white microfiber cloths are strongly preferred over colored ones, as dye transfer from a damp colored cloth onto a light-colored headliner is a well-documented detailing mistake.
Avoid steam cleaners, pressure washers, and any product containing bleach, ammonia, or solvent-based degreasers. These compounds attack the polyurethane foam backing and the thermoplastic adhesive layer the two structural components most responsible for keeping the headliner firmly in place.
Having all supplies prepared and within reach before you start also prevents mid-process interruptions that lead to over-wetting a section while you search for the next tool.
How to Identify Your Headliner Fabric Type
Not all headliners are the same. The cleaning method that works on a woven fabric headliner may damage a suede or perforated vinyl surface. Before applying any product, identify your material:
- Woven fabric: Most common in older vehicles and budget models. Feels textured and fibrous. Responds well to upholstery foam cleaners.
- Suede or Alcantara: Found in luxury vehicles. Extremely sensitive to water and rubbing. Requires specialty suede cleaners and very light touch.
- Vinyl or perforated vinyl: Common in commercial vans and some modern SUVs. More water-resistant, but perforations can trap cleaning solutions.
Check your vehicle owner’s manual or look up the interior trim specifications for your make and model. Testing any cleaner on a small, hidden corner near the rear edge or above the trunk opening is always the safest first step.
Step-by-Step Process to Clean a Car Headliner Safely
Cleaning a headliner requires patience and a light hand. Follow this process from start to finish for the best results.
Step 1: Vacuum The Surface First:
Use a handheld vacuum or brush attachment on low suction to remove loose dust and debris. Work in straight, overlapping strokes from front to back. This prevents dry particles from becoming embedded once moisture is introduced.
Step 2: Apply Cleaner To The Cloth, Not The Ceiling:
Spray your upholstery cleaner onto a microfiber cloth until it is lightly damp, but never saturated. Applying the product directly to the headliner risks over-wetting the foam and adhesive beneath the fabric layer.
Step 3: Blot And Dab, Do Not Scrub:
Press the cloth against the stained area and blot in a gentle, lifting motion. Circular scrubbing motions spread the stain and can distort the weave of the fabric. For more stubborn spots, apply light pressure with a soft-bristle brush using short, unidirectional strokes.
Step 4: Work In Small Sections:
Clean one section at a time rather than saturating the entire ceiling at once. Allow each section to dry slightly before moving on. This prevents moisture from accumulating in one area.
Step 5: Wipe With A Clean, Damp Cloth:
After treating each section, lightly wipe with a separate cloth, dampened with clean water to remove any product residue. Leaving cleaner on the fabric can attract more dirt over time.
Step 6: Allow Full Drying With Ventilation:
Open all windows or doors and allow the headliner to air dry completely before closing the vehicle. Parking in direct sunlight for 30 minutes can help, but not for extended periods, as UV exposure degrades foam adhesives over time.
Following these steps in order gives your headliner the best chance of coming out clean, dry, and undamaged every single time.
How to Remove Specific Stains From a Car Headliner
Different stains need different approaches. Here is a targeted guide for the most common headliner issues:
- Grease or oil stains: Apply a small amount of isopropyl alcohol to a microfiber cloth and gently blot the affected area. Alcohol breaks down lipid-based residue without over-wetting the substrate. Work from the outer edge of the stain inward to prevent spreading.
- Smoke and nicotine stains: Mix equal parts white vinegar and water in a spray bottle. Apply to a cloth and work across the stained surface in light, even passes. Vinegar is a natural odor neutralizer and degreaser. For heavy nicotine buildup, a second application may be needed after the first dries completely.
- Mold and mildew spots: Use a diluted fabric-safe antimicrobial cleaner. Address the root cause first check for sunroof seals, window seams, or HVAC condensation issues. Cleaning mold without fixing the moisture source means it will return within weeks.
- Water stains or mineral rings: Lightly dampen the entire stained area first to re-wet the ring, then blot from the outside inward with a clean cloth. Wiping a dry water ring directly often sets it deeper into the fibers.
- Ink or marker marks: Dab with a cloth lightly moistened with rubbing alcohol. Work in very small blotting motions. Ink dissolves with alcohol but spreads easily if you use too much pressure.
Tackling each stain type with the right method makes all the difference between a clean finish and a permanently set mark.
Common Mistakes That Damage Car Headliners
Even well-meaning car owners cause damage by using the wrong techniques. These are the most critical errors to avoid:
- Using too much liquid: The foam backing absorbs moisture and loses its bond with the substrate. Once the adhesive softens, the headliner begins to sag and that process is very hard to reverse without professional re-gluing.
- Scrubbing in circular motions: This disturbs the fabric weave and creates visible pile distortion on suede-type materials.
- Using household cleaners like dish soap or all-purpose spray: These leave residue, contain surfactants that attract grime, and may bleach or discolor the fabric.
- Using a steam cleaner: High heat and moisture directly attacks the adhesive layer. Even products marketed as safe for car interiors can damage headliners.
- Skipping the test patch: Always test in a concealed area first. Color-fast reactions and fabric shrinkage are impossible to predict without testing.
Avoiding these mistakes from the start saves you from costly repairs and keeps your headliner looking clean and intact for years to come.
How to Maintain a Car Headliner Long Term
Prevention is far easier than deep cleaning and far cheaper too. According to professional auto detailers, routine maintenance can extend a headliner’s lifespan by 3 to 5 years compared to neglected interiors. Keeping the headliner clean between deep-cleaning sessions comes down to a few consistent, low-effort habits.
Vacuum Regularly
A soft-brush vacuum attachment used every 2 to 4 weeks removes airborne dust, pet dander, and particulate matter before it settles deep into the fabric weave. This single habit alone reduces the frequency of wet cleaning by nearly 60 percent.
Control Interior Humidity
Humidity levels above 60 percent inside a vehicle cabin create ideal conditions for mold spore activation and mildew growth. Keeping windows slightly cracked when parked in warm weather especially in humid climates allows moisture-laden air to escape. A small silica gel dehumidifier packet placed under the seat absorbs residual moisture effectively.
Use A UV-Blocking Windshield Sunshade
Direct UV radiation degrades polyurethane foam adhesives at an accelerated rate. Studies on automotive interior materials show that prolonged heat exposure above 70°C (158°F) easily reached inside a parked car in summer causes adhesive bond failure within 2 to 3 years. A quality sunshade reduces dashboard and headliner temperatures by up to 30 percent.
Address Water Intrusion Immediately
Leaking sunroof drains, deteriorating door seals, and failing windshield gaskets are the leading causes of headliner water damage. The NHTSA and automotive consumer reports consistently flag water intrusion as a top interior complaint in vehicles over 5 years old. A water stain left untreated for more than 72 hours begins to wick outward and set permanently into the substrate fiber.
Manage Odor Sources Proactively
If you have pets or smoke in your car, odors can build up fast. A light spray of fabric-safe odor eliminator, not a heavy air freshener, breaks down the compounds that cause bad smells before they settle into your seats and carpets. For a chemical-free option, place activated charcoal odor absorbers inside the cabin overnight. Detailing professionals widely recommend them for drawing out deep-set odors without adding any fragrance.
Schedule A Professional Inspection Annually
Auto detailing specialists recommend a full interior inspection at least once per year, particularly for vehicles operating in coastal, high-humidity, or extreme-temperature environments. Early identification of adhesive weakening, fabric pilling, or moisture damage allows for corrective action before full headliner replacement becomes necessary, a repair that typically costs between $200 and $600 at professional upholstery shops.
Consistent preventive care costs almost nothing compared to a full headliner replacement and it keeps your vehicle’s interior looking, smelling, and performing at its best for years down the road.
Final Thoughts
Cleaning a car headliner is not complicated, but it is unforgiving when done incorrectly. The key principle to remember throughout the whole process is moisture control. Less product, more patience. Light blotting over hard scrubbing. Gradual drying over forced heat.
When approached with the right tools and technique, even heavily soiled headliners can be restored to a clean, presentable condition. Addressing stains early before they set or spread always produces better results than waiting for the problem to worsen. A well-maintained headliner also protects the resale value of your vehicle and contributes to a healthier cabin air quality overall.
FAQs
Can I Use A Steam Cleaner On My Car Headliner?
No steam cleaners introduce heat and moisture simultaneously, which is the exact combination that dissolves the adhesive bonding the fabric to the fibreboard substrate. Even brief exposure can cause long-term sagging.
What Is The Safest Cleaner For A Car Headliner?
A pH-neutral upholstery cleaner or a diluted white vinegar solution applied to a microfiber cloth is the safest option for most fabric headliners. Always test on a hidden spot before full application.
How Do I Get Cigarette Smell Out Of A Car Headliner?
Mix equal parts white vinegar and water and lightly apply with a cloth using gentle, overlapping strokes. Allow full ventilation to dry. Activated charcoal bags placed inside the car overnight also help absorb residual odor.
Why Is My Headliner Sagging After Cleaning?
Sagging after cleaning is caused by moisture penetrating to the adhesive layer beneath the foam backing. This weakens the bond between the substrate and the material. Re-gluing with headliner adhesive spray is the recommended repair method.
How Often Should I Clean My Car Headliner?
A light vacuum every two to four weeks and a spot clean as needed keeps most headliners in good condition. A full deep clean once or twice a year is sufficient for regular use vehicles.
Can I Use A Magic Eraser On A Car Headliner?
Magic erasers are micro-abrasive and not suitable for fabric headliners. They can damage the surface texture, cause fraying on woven materials, and leave dull patches on suede-type finishes.
Does Baking Soda Work For Headliner Odors?
Baking soda in powder form should not be applied directly to fabric headliners as it is difficult to remove and can leave a residue. A diluted baking soda solution lightly applied and allowed to dry can help, but white vinegar is generally more effective.
How Do I Clean A Suede Or Alcantara Headliner?
Use only a specialty suede cleaner and a very soft brush. Apply the cleaner to the brush first, not the surface. Work in one direction only and allow it to dry naturally. Never use water-based cleaners on genuine suede.
Can Mold On A Headliner Spread To The Rest Of The Car Interior?
Yes mold spores are airborne and can spread to seats, carpets, and HVAC ducts. Address mold on a headliner promptly using a fabric-safe antimicrobial cleaner and fix any moisture source that is contributing to the growth.
Is It Better To Clean The Headliner Yourself Or Take It To A Professional Detailer?
Light cleaning and spot treatment are manageable DIY tasks with the right products. For severe staining, widespread mold, heavy nicotine buildup, or sagging fabric that needs re-adhesion, a professional auto detailer or upholstery specialist will produce safer and more lasting results.