
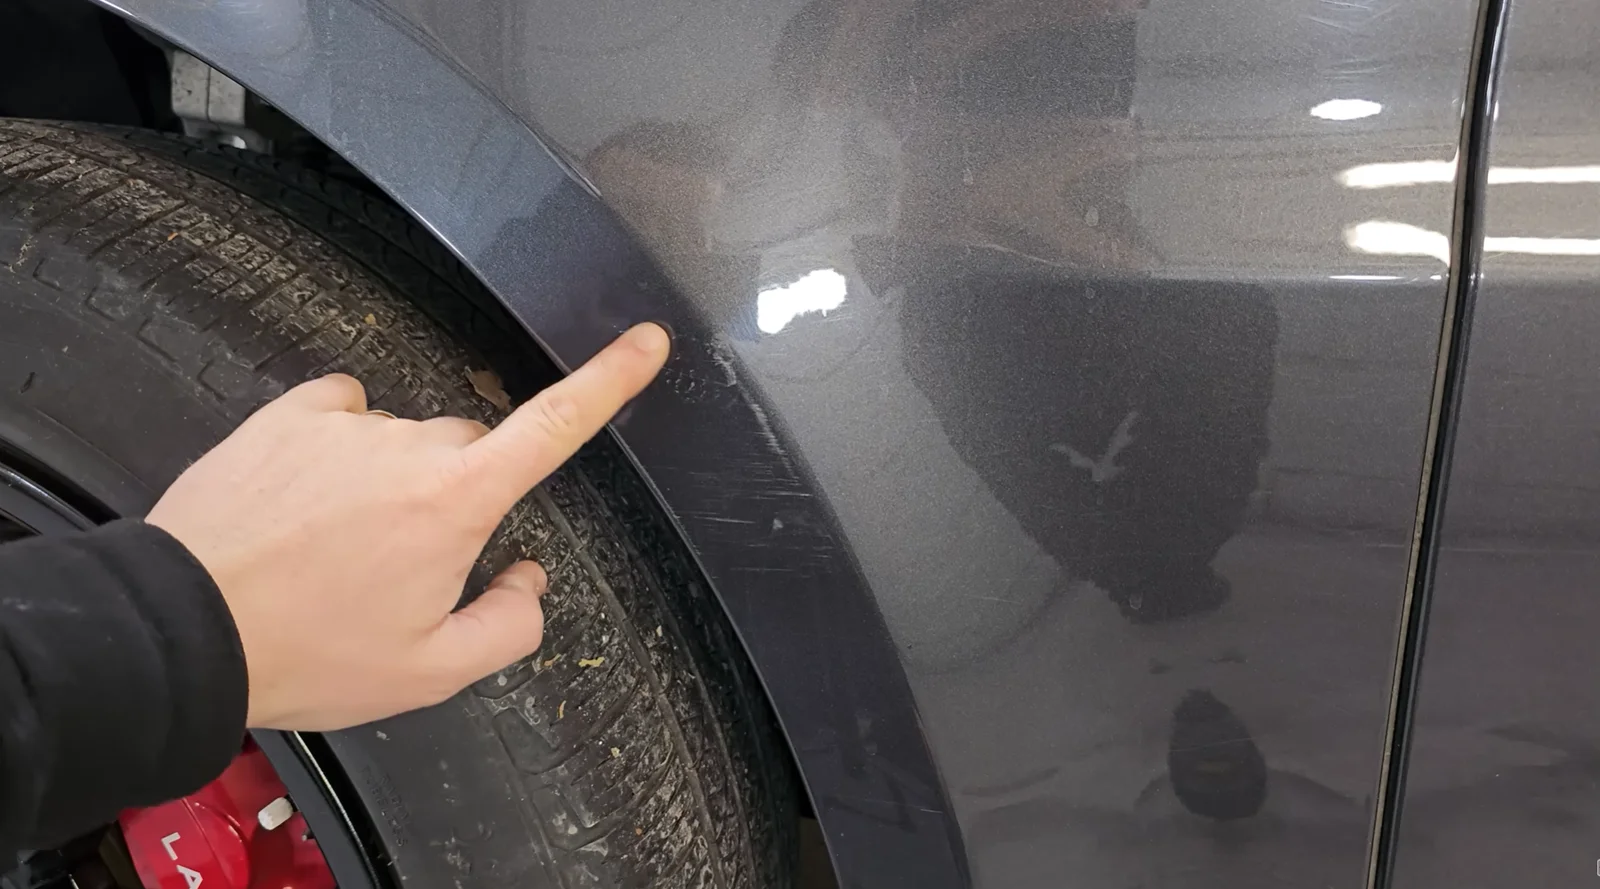
Car scratches range from light surface marks to deep paint damage, and each type needs a different repair approach. This guide walks you through every scratch level, the right products to use, and proven step-by-step methods to restore your car’s paint at home. Whether you are dealing with a swirl mark or a deep gouge, the right fix starts here.
What Causes Car Scratches and Why Paint Depth Matters
Before jumping into any repair method, it helps to understand what you are actually dealing with. Modern car paint is not a single layer, it is a multi-layer system. From top to bottom, you have the clear coat, the base coat (color layer), the primer, and the metal or plastic substrate underneath.
The type of scratch you have determines the repair approach entirely. A mark that only disturbs the clear coat behaves very differently from one that cuts through to bare metal. Getting this diagnosis right at the start saves you time, money, and the frustration of using the wrong product on the wrong problem.
Here is a quick breakdown of the three main scratch types:
| Scratch Type | Layer Affected | Nail Test Result | DIY Repair Difficulty |
| Surface mark, swirl | Clear coat only | Nail does not catch | Easy |
| Mid-level scratch | Base coat exposed | Nail slightly catches | Moderate |
| Deep scratch | Primer or metal exposed | Nail clearly catches | Hard, may need professional help |
The nail test is simple: run your fingernail lightly across the scratch. If it does not catch, you are almost certainly dealing with a clear coat issue that responds well to polishing compounds. If your nail catches noticeably, the damage is deeper and needs more than just polish.
Tools and Products You Need Before You Start
Getting the right supplies together before you begin prevents interruptions and subpar results. You do not need a full detailing kit, but having the correct materials for your scratch type makes a real difference.
For surface and clear coat scratches:
- Microfiber cloths (at least 3-4 clean ones)
- Scratch remover or polishing compound (brands like Meguiar’s ScratchX or Turtle Wax Scratch Repair Kit work well)
- Rubbing compound for moderate scratches
- Car wax or paint sealant to finish
For deeper base coat scratches:
- Automotive touch-up paint matched to your vehicle’s paint code
- Fine-grit wet-dry sandpaper (1500 to 3000 grit)
- Masking tape
- Clear coat spray
- Polishing compound
For all scratch repairs:
- Isopropyl alcohol or a panel wipe to clean the area
- Good lighting, natural daylight works best
- Patience (this is genuinely the most important item on the list)
With the right supplies in hand, you are set up to tackle the repair cleanly and confidently without making the damage worse in the process.
How to Remove Light Scratches and Swirl Marks from Car Paint
Light surface scratches and swirl marks are the most common types of paint damage on everyday vehicles. These are the fine, web-like marks you often notice when sunlight hits your car at a certain angle. They live entirely within the clear coat layer and respond very well to simple polishing.
Step-by-step process:
- Wash the affected area thoroughly and dry it completely, working on dirty paint causes more scratches.
- Apply a small amount of scratch remover to a clean microfiber cloth.
- Work the compound into the scratch using firm, back-and-forth linear strokes (not circular).
- Continue for 60-90 seconds, then wipe away residue with a fresh cloth.
- Inspect under light repeatedly if the mark is still visible.
- Once satisfied, apply a layer of car wax to protect the repaired area.
Most light scratches respond after two or three passes. The key is using moderate pressure consistently and keeping the cloth moving, pressing hard in one spot can create uneven paint removal.
How to Fix Medium Scratches That Have Reached the Color Layer
When a scratch cuts through the clear coat and exposes the base coat (the actual color layer), polishing compound alone will not close it. You can still handle this at home, but it requires a few more steps and a bit more care.
The first thing you need is your vehicle’s paint code. This is usually found on a sticker inside the driver’s door jamb, in the glove box, or under the hood. The code lets you buy a precisely matched touch-up paint, which is critical for an invisible repair.
Process for mid-level scratch repair:
- Clean and degrease the scratch area with isopropyl alcohol.
- Lightly sand the scratch using 2000-grit wet-dry sandpaper with water as a lubricant. Use very light pressure.
- Wipe away residue and let the area dry completely.
- Apply touch-up paint using a fine brush or the pen-style applicator that comes with many kits. Apply in thin layers.
- Let each layer dry for at least 30 minutes before adding the next.
- Once the color matches the surrounding paint, apply clear coat spray over the repaired section.
- After the clear coat cures (usually 24 hours), wet sand lightly with 3000-grit paper, then polish to blend.
The blending step at the end is what separates a visible repair from one that disappears into the paint. Take your time here.
How to Repair Deep Scratches Down to Bare Metal or Primer
Deep scratches that cut through to bare metal or primer are the most serious paint damage your car can have – and the most urgent to address. Unlike surface marks that are purely cosmetic, exposed metal begins to oxidize rapidly, turning a simple scratch repair into a rust removal job if left untreated even for a few days.
These repairs sit at the upper limit of confident DIY work. Stopping further damage is absolutely achievable at home, but a fully seamless finish at this depth typically needs professional spray equipment and color-blending skills.
Step-by-step deep scratch repair process:
- Wash the area thoroughly and dry it completely before touching the scratch.
- Apply isopropyl alcohol or panel wipe to degrease the exposed metal.
- Treat the bare metal immediately with a rust inhibitor or self-etching primer; this step cannot be skipped.
- Allow the primer to fully check the product label, most require 1-2 hours minimum.
- Lightly sand the primed area with 2000-grit wet-dry sandpaper using water as a lubricant. Use very light, even strokes.
- Wipe clean and apply your matched touch-up paint in thin, controlled layers never one thick coat.
- Allow 30 minutes drying time between each paint layer. Two to three thin coats give better results than one heavy application.
- Once the color layer matches the surrounding paint, apply clear coat spray evenly over the repaired section.
- Allow full cure for a minimum of 24 hours before any wet sanding.
- Finish with 3000-grit wet sanding followed by polishing compound to blend the repair into the surrounding paint.
When DIY is not the right call:
| Situation | Recommended Action |
| Scratch longer than 3-4 inches | Get a professional quote |
| Rust is already forming around the scratch | Body shop assessment needed |
| Multiple panels affected | Professional respray |
| Specialty paint – pearl, matte, tri-coat | Detailer with paint-matching equipment |
| Previous DIY attempt made it worse | Stop and consult a professional |
A deep scratch repaired correctly at home will hold up well and stop rust from spreading. The goal at this stage is not perfection, it is protection. If the visual result still bothers you after a solid DIY repair, a body shop can refine the finish from there at a lower cost than a full repair done from scratch.
Household Remedies | What Actually Works and What Does Not
There is a lot of conflicting advice online about using everyday household items to remove car scratches. Some of it has a grain of truth, most of it ranges from ineffective to mildly harmful. Here is an honest look at the most common suggestions:
| Remedy | Does It Work? | Why / Why Not |
| Toothpaste | Partially light marks only | Contains mild abrasives similar to very fine polish |
| WD-40 | No real repair cosmetic only | Fills the scratch temporarily but causes no actual correction |
| Nail polish | Color match only no structural fix | Can worsen the appearance if color is off |
| Baking soda paste | Very mild effect at best | Not abrasive enough for any meaningful scratch |
| Shoe polish (for swirls) | Surprisingly decent for inspecting depth | Useful for identifying scratch boundaries, not repair |
Toothpaste is the one household item that genuinely has some mild polishing action on very fine surface marks. Use a non-gel whitening toothpaste, apply with a microfiber cloth, and rub in a circular motion. It is not as effective as a purpose-made scratch remover, but it can work in a pinch on minor clear coat scuffs.
When to Use Scratch Repair Kits vs Professional Detailing Services
Knowing when to handle a scratch yourself and when to bring in a professional is a practical skill that saves money in the long run.
DIY scratch repair is a good fit when:
- The scratch does not catch your fingernail
- The affected area is smaller than a credit card
- Your vehicle’s paint is in generally good condition otherwise
- The scratch is on a less visible area of the car
Professional detailing or bodywork makes more sense when:
- The scratch has broken through to metal or primer over a large area
- Multiple panels are affected
- The paint shows signs of rust beginning around the scratch
- Your vehicle is newer or has a specialty paint finish (pearl, matte, tri-coat)
- You have attempted a DIY repair and made the area look worse
A professional paint correction service typically costs between $150 and $500 depending on the extent of the damage and your location. A full panel respray at a body shop can run significantly higher. Getting a couple of quotes gives you a useful reference point before deciding whether the DIY route is worth the effort.
How to Prevent Car Scratches and Protect Your Paint Long Term
Fixing scratches is reactive; protecting your paint is the smarter long-term investment. Once you have repaired existing damage, keeping that finish intact comes down to consistent habits and the right protective products working together.
Practical daily and seasonal prevention steps:
- Apply a quality car wax or paint sealant every 3-4 months to maintain a protective barrier against minor abrasions and UV exposure
- Use the two-bucket wash method one bucket for soapy water, one for rinsing your wash mitt to prevent swirl marks during every wash
- Park away from shopping cart return zones, tight parking spots, and areas with heavy foot traffic where door dings and key scratches are common
- Use a soft, breathable car cover if your vehicle sits outside for extended periods especially in dusty or high-UV environments
- Avoid brush-style automatic car washes entirely the rollers accumulate grit that acts like fine sandpaper against your clear coat over time
Longer-term protection options worth considering:
Paint protection film (PPF) is one of the most effective solutions available for high-impact zones. Applied to the front bumper, hood leading edge, side mirrors, and door edges the areas most exposed to stone chips and road debris PPF creates a self-healing thermoplastic barrier that absorbs minor impacts before they reach the paint. It is not cheap, but on a newer or higher-value vehicle the investment makes clear financial sense.
Ceramic coating has become significantly more accessible in recent years. A professionally applied ceramic coating bonds to the clear coat and creates a semi-permanent hydrophobic layer that repels water, resists minor chemical contamination, and reduces UV-related paint fade. It does not make your paint scratch-proof, but it meaningfully reduces the rate at which everyday wear accumulates which means less polishing, less correction work, and a finish that stays cleaner between washes.
Used together, PPF on vulnerable panels and ceramic coating over the full vehicle is the most comprehensive protection setup available outside of a full paint respray. For everyday vehicles, even just consistent waxing and careful washing habits make a measurable difference to how your paint looks five years from now.
Final Thoughts
Removing scratches from a car is a skill that gets easier with practice and the right knowledge. The most important step is always the first one correctly identifying what type of scratch you are dealing with before buying products or starting any repair. A clear coat scuff and a deep metal scratch require completely different approaches, and using the wrong one can make the damage more visible rather than less.
For most everyday scratches, a quality polishing compound and some patience gets excellent results at home. For deeper damage or large affected areas, a professional assessment is money well spent. Either way, staying on top of paint protection prevents most of this work from being needed in the first place.
FAQs
Can Toothpaste Really Remove Car Scratches?
Toothpaste can reduce the appearance of very light surface marks because it contains mild abrasive particles. It works best on fine swirl marks and clear coat scuffs. It will not fix any scratch deep enough for your fingernail to catch, and it is less effective than a purpose-made automotive polishing compound.
How Do I Find My Car’s Paint Code?
Your paint code is usually located on a sticker inside the driver’s door jamb, inside the glove box, or under the hood on a plate near the firewall. It may also be in your vehicle’s owner documentation. Enter your car’s make, model, year, and the code into any automotive paint supplier’s website to get a matched touch-up product.
Will Wd-40 Fix A Car Scratch?
WD-40 does not repair scratches. It can temporarily fill and disguise a very shallow mark, making it less visible in certain lighting. However, this effect is cosmetic only and wears off. It does not restore or rebuild paint layers in any way.
How Long Does Diy Scratch Repair Take?
A light surface scratch can be addressed in 20-30 minutes including cleaning and finishing. A mid-level scratch involving touch-up paint and clear coat will take several hours across one or two days, accounting for drying time between layers.
Is It Worth Fixing Small Scratches Before Selling A Car?
Generally yes, if the cost of repair is lower than the reduction in resale value caused by visible damage. A clean paint surface significantly affects a buyer’s first impression. Light polishing to remove swirl marks and minor scuffs is almost always worth doing before listing a vehicle for sale.
Can A Body Shop Fix Any Scratch?
A professional body shop can repair virtually any scratch, including those with rust. The question is cost deep scratches requiring panel repainting can be expensive. For very old vehicles or those with significant pre-existing damage, the repair cost may exceed the vehicle’s value.
Does Car Scratch Remover Damage Paint?
A quality scratch remover used correctly does not damage paint. It works by lightly abrading the clear coat to level the surface around the scratch. However, overuse or applying excessive pressure can thin the clear coat over time. Always follow manufacturer instructions regarding how many passes to make.
What Is The Difference Between A Rubbing Compound And Polishing Compound?
Rubbing compound is more abrasive and is used for deeper scratches, oxidation, and heavy paint correction. The polishing compound is finer and is used for light scratches, swirl marks, and final finishing. In most scratch repair workflows, rubbing compound is applied first and polishing compound is used second to refine the surface.
Can Scratches Be Buffed Out On Matte Paint?
Matte paint requires special care. Standard polishing compounds and waxes designed for gloss paint will alter the surface texture and create shiny spots on a matte finish. Scratches on matte paint should only be addressed using products specifically designed for matte or satin finishes, or handled by a detailer experienced with specialty paint.
How Do I Stop Automatic Car Washes From Scratching My Paint?
Opt for touchless automatic washes over brush-style machines. Brush rollers accumulate grit over time that acts like sandpaper against your clear coat. Touchless washes use high-pressure water and detergent only. For the best results, hand washing using the two-bucket method with a quality wash mitt remains the gentlest option for your paint.